|
|
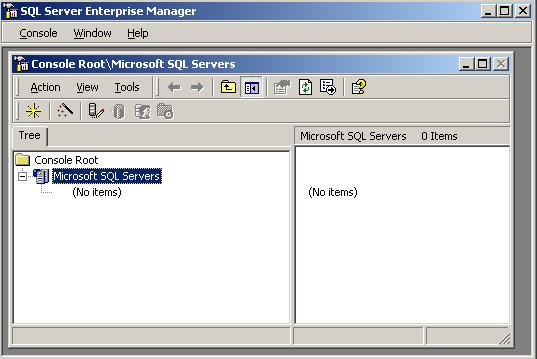
How to set up Microsoft SQL 2000 Enterprise Manager Once you have setup the Alias for your SQL Database in the Client Network Utility, you can now setup the connection (SQL Server Registration) for your SQL Database. Open Enterprise Manager on your computer...
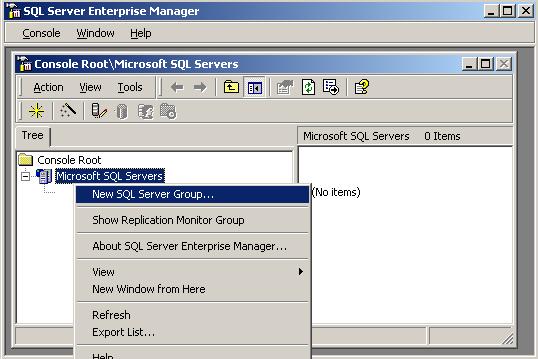
Right click on Microsoft SQL Servers and then select New SQL Server Group..., as shown below...
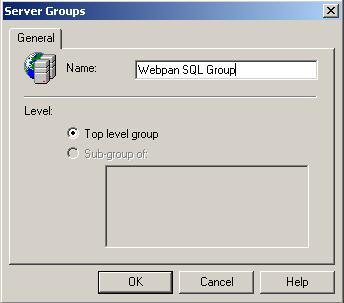
The Server Groups window pops up, which is where you're going to give a name to the group of all/any SQL Server Databases. You can call the group whatever you want, as you can see in the example below, but make sure you select the Top level group radio button...
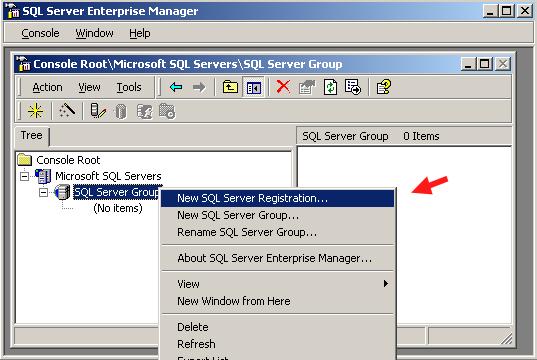
After you press OK, you will see the Server Group added to the Microsoft SQL Servers list. Right click on your Server Group and select New SQL Server Registration... to create your SQL Server Database connection...
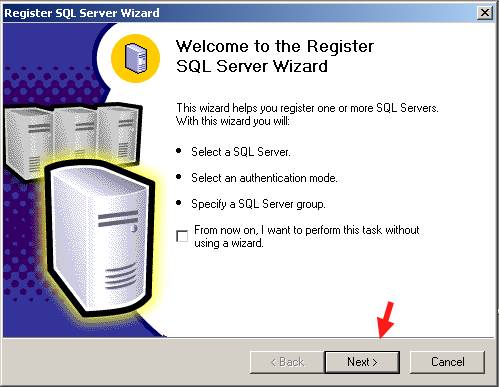
The next window you should see is the Register SQL Server Wizard window...
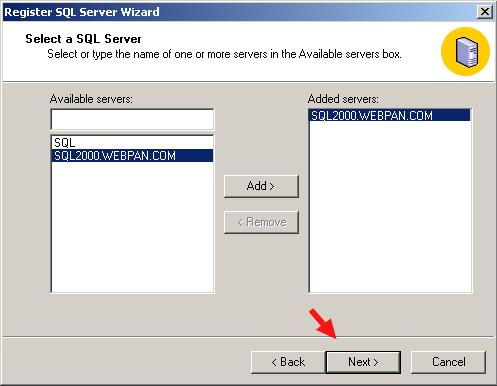
Select Next > and the window changes to Select a SQL Server and you should see the SQL Alias that you recently created in the list on the left side (Available servers:). Select your SQL Server Alias and then press the Add > button, which should place the server you selected into the list on the right side (Added servers:)...
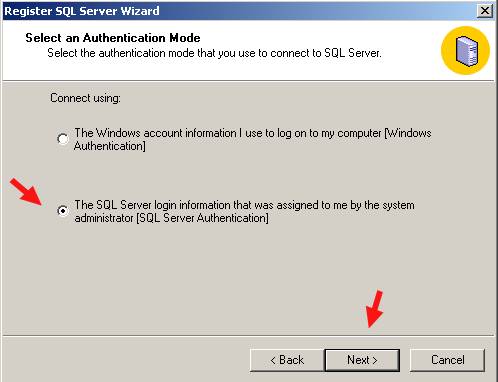
Select Next > and the window changes to Select an Authentication Mode. Select the [SQL Server Authentication] radio button and then select Next >...
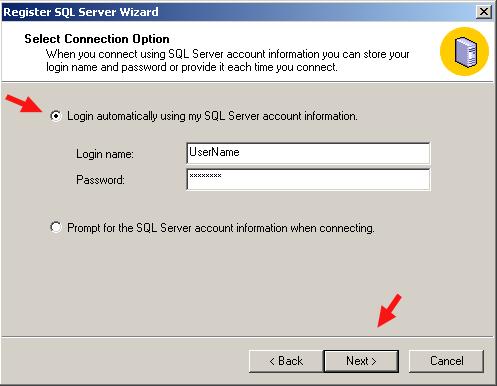
At the next window, Select Connection Method, you must select the radio button to Login automatically and then enter you username & password that you chose when you requested your SQL Server Database and then select Next >...
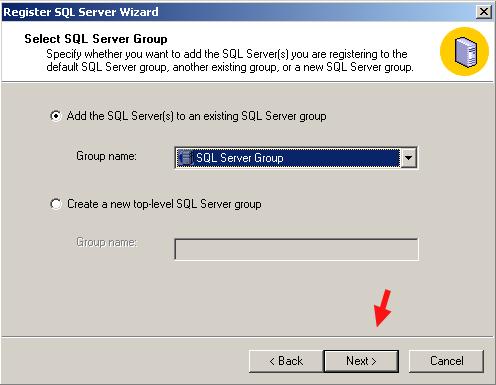
The next window, Select SQL Server Group, you need to specify which SQL Server Group you are going to add this new SQL Server Registration to, so make sure you select the radio button for Add the SQL Server(s) to an existing SQL Server Group and next to Group name: choose your SQL Server Group from the list and then select Next >...
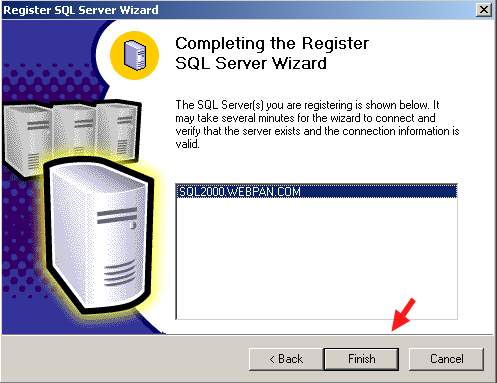
The next window you see, Completing the Register SQL Server Wizard, now shows the SQL Server(s) you are registering and the only thing left for you to do is select the Finish button...
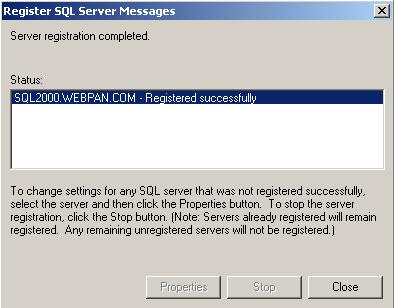
If you have setup everything correctly, as explained in this tutorial, you should now be connected to your SQL Server Database! Congratulations, you have passed and successfully created your SQL Server Database Registration Connection! |
|
|
| ||||